

How to add branding to Plooner
Your branding lives in the account panel at the top of your Content Planner, and every template, Smart Suggestion and caption uses it. It takes a couple of minutes to set up and you only do it once per planner.
Note: If you used the quick setup modal that popped up when you created your account, or added a new planner. You’ve set your branding already. But you can always change it like this as well:
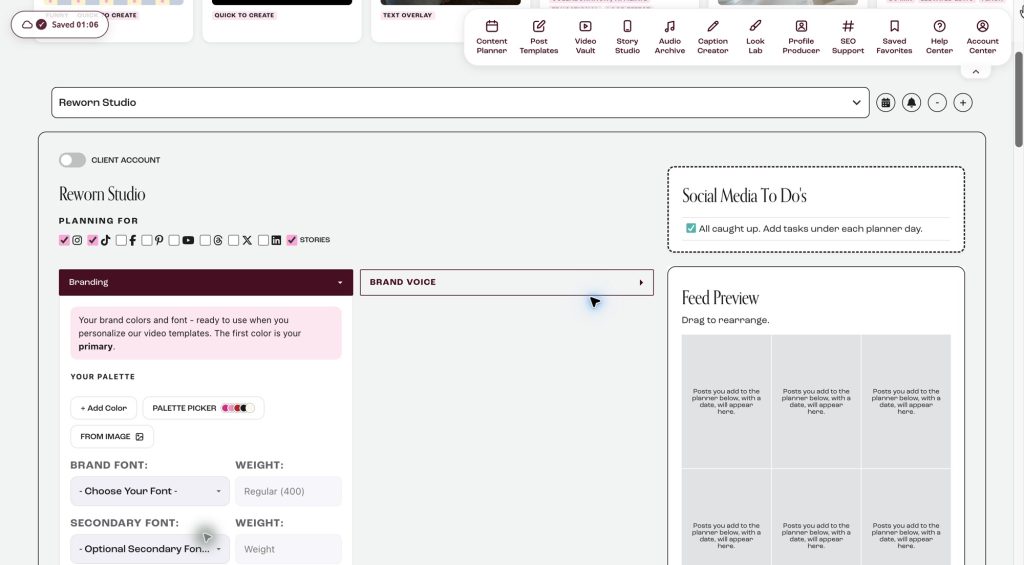
Open Branding
Log in and you land in your Content Planner. Scroll down to the account panel and click Branding.
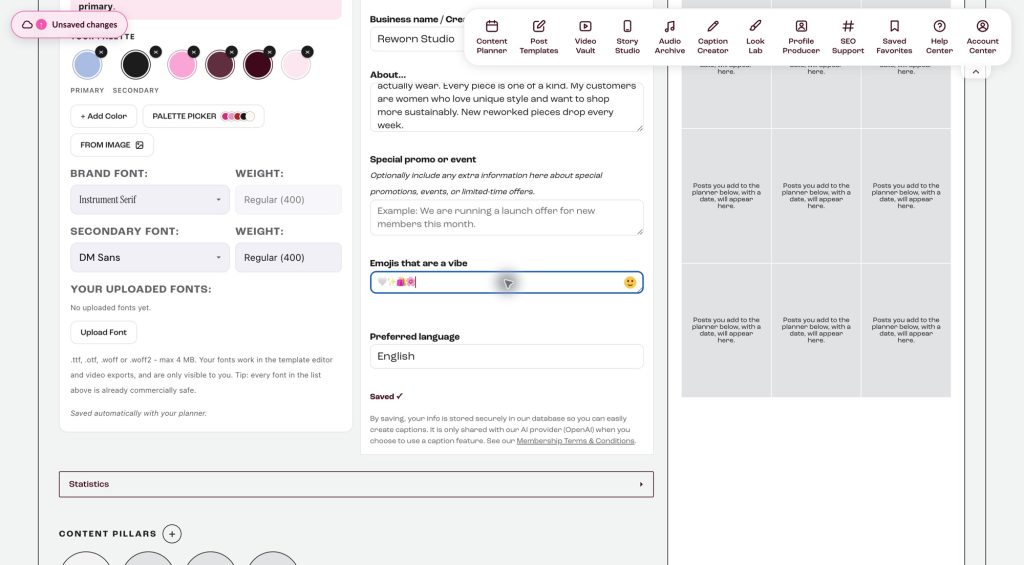
Add your brand colors
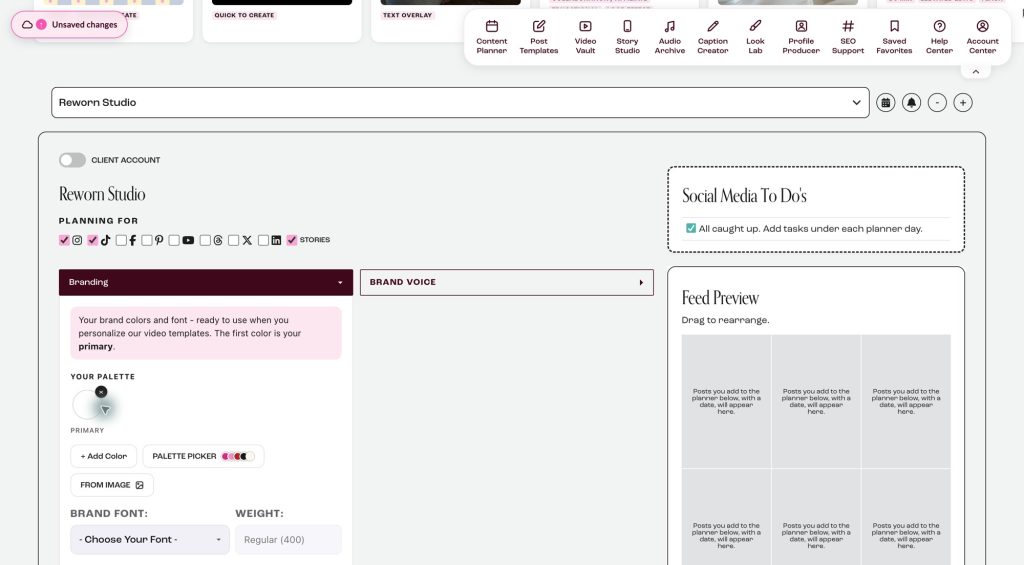
Click + Add Color and pick a color. The first color is your primary and the second one is your secondary – you will see the labels under the first two swatches.
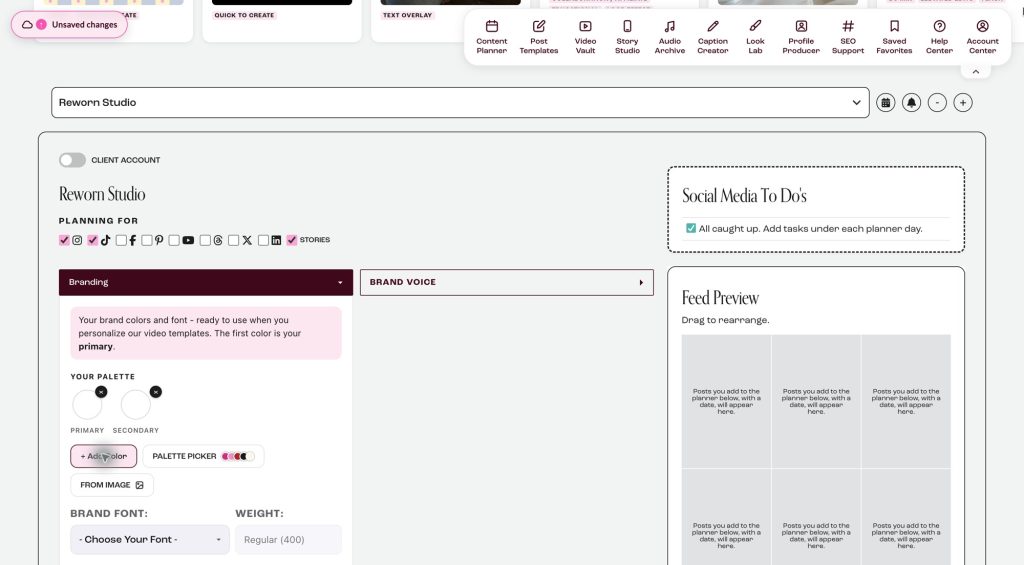
No palette yet? Open the Palette Picker and choose one of ours. Browse the tabs Featured, Sophisticated, Bold & Fun and Nude & Calm, click a palette and all five colors are set at once.
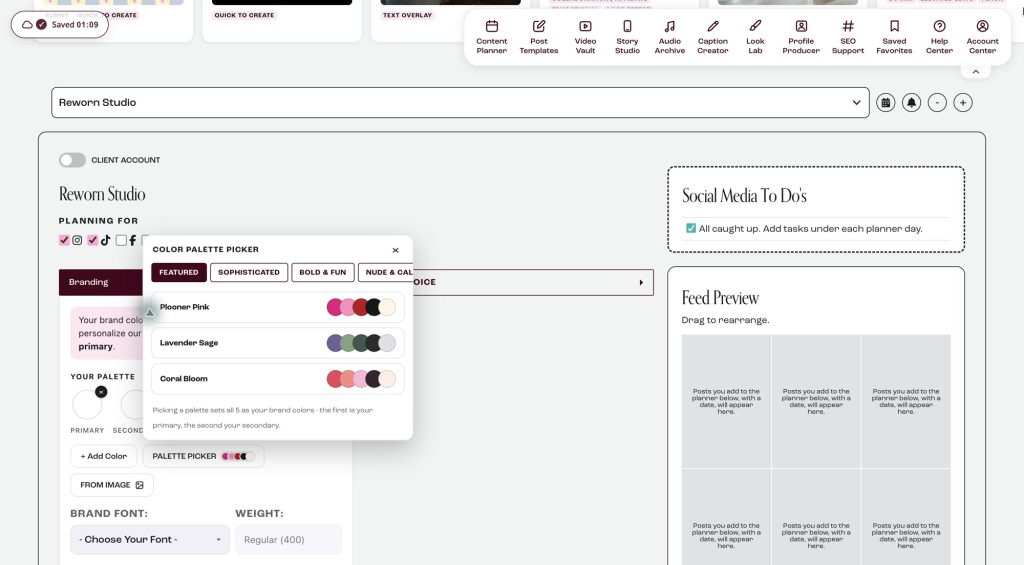
Already have a palette? Use From Image
You can screenshot a color palette from any other platform, for example your brand guide or Canva, and upload it here. Click From Image, choose the photo, and we detect the colors for you. The biggest color becomes your primary. Click Use These Colors and your palette is replaced.
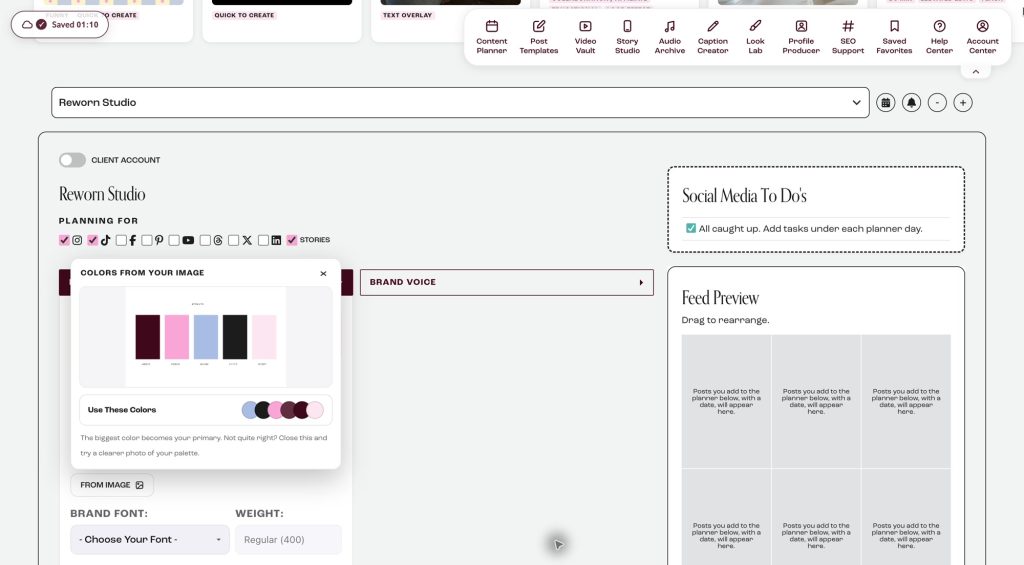
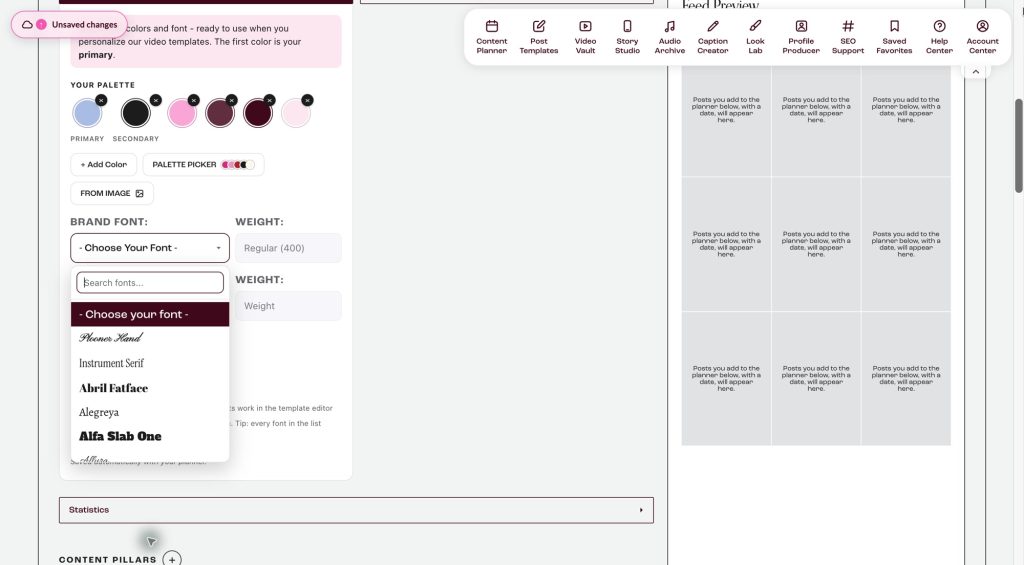
Pick your brand fonts
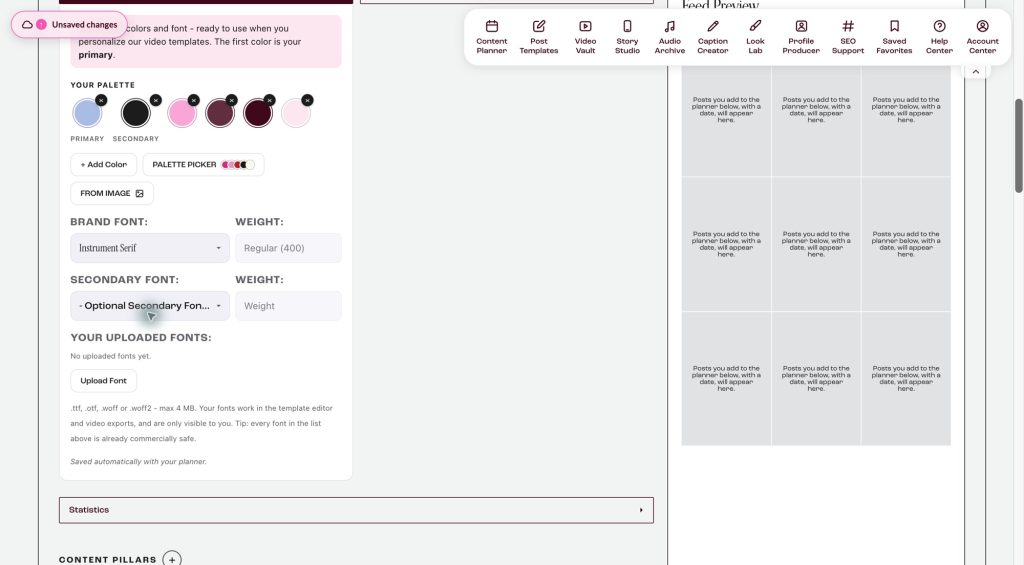
Open Brand Font and choose a font from the list – there are hundreds to pick from, and you can search by name. Add a Secondary Font if you want one, and set the weight for each.
Have your own licensed font? Use Upload Font (.ttf, .otf, .woff or .woff2, max 4 MB). It is only visible to you and works in the template editor and video exports. Everything in Branding is saved automatically with your planner, so there is nothing else to do here.
Add your Brand Voice
Next to Branding you will find Brand Voice. This is what our built-in AI uses when it writes text suggestions for your templates and your captions, so the more you tell it, the better the result. Fill in your Business name / Creator name, a few lines About what you do and who it is for, the Emojis that are a vibe for your brand, and your Preferred language.
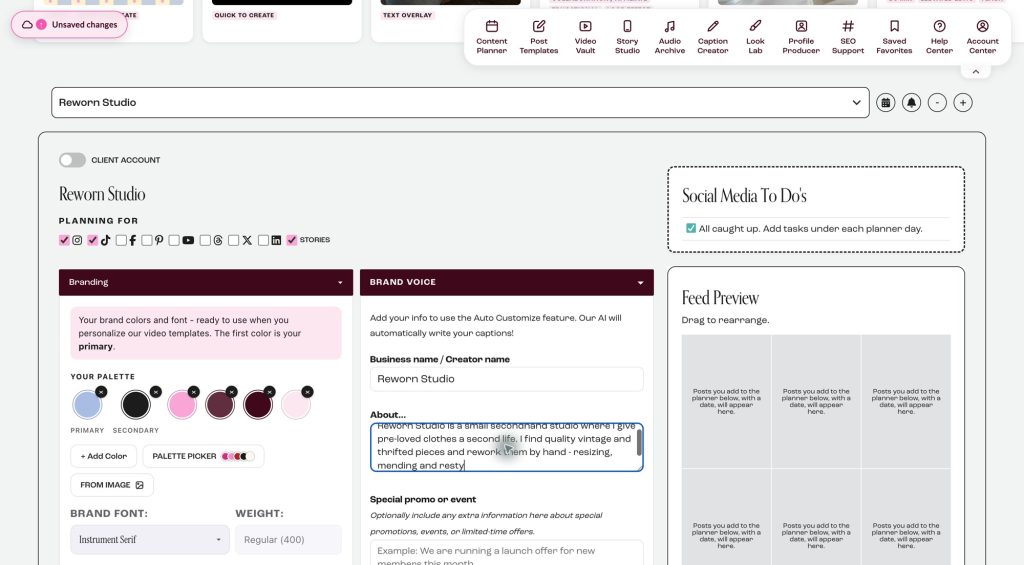
Special promo or event is optional. Leave it empty for now, and add something there when you have a sale, a launch or an event going on – the AI will weave it into your texts. Then click Save My Info.
That is it. Your colors, fonts and Brand Voice are now ready to use in every template. Next step: How to edit Plooner templates.